Showing posts with label building supplies. Show all posts

Monday, September 12, 2011

Frame of Mind

My roommate Emily had a great idea for a poster frame to go in the living room of our new place.  Thought I would share it here since so many people loved the Doorknob Coat Rack I did a while back.

We started with an old salvaged window.  One side of the window was an awesome reddish-brown, but we wanted the hardware to face out, so we ended up painting it.  I used some of the leftover paint from a bookcase Jason and I built.  I only put one coat on and streaked the paint a bit to let some white or chipping show through - get a bit of a distressed feel.


Once the paint was dry, we had to get the poster to lie out flat on it.  This was the scene in our kitchen for several days... see the cool color on the flip side?


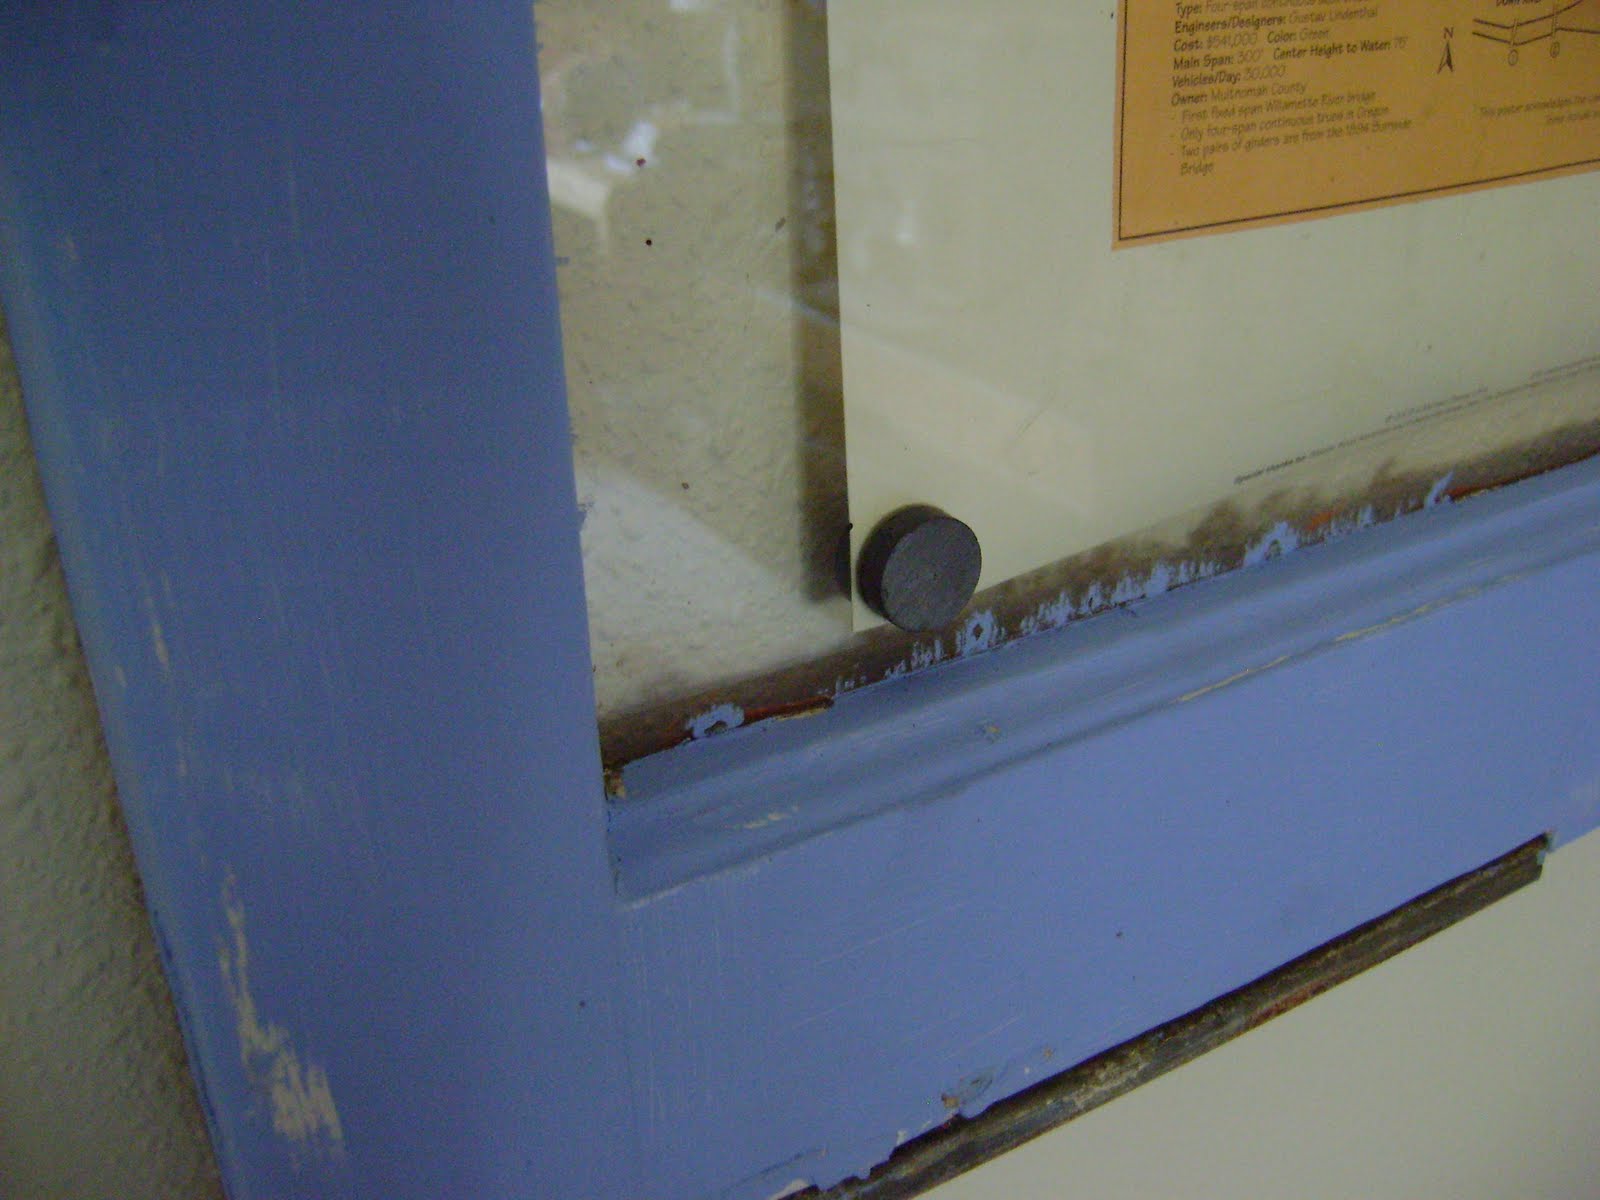
Once the poster was flat, we put magnets on both sides of the glass to hold it in place.  The poster is behind the glass to protect it.  I used some eyelet screws and wire from an art frame I reclaimed to mount the whole thing on the wall.


Couldn't resist getting my pic in here too I suppose...


Closeup shot of the magnets and some of the distressed paint.


I plan on hitting up some of the local reused and reclaimed building supply stores in order to get another window.  The plan is to get one that hangs lengthwise with another poster.  Cool matching tip - paint things that are similar but don't match the same color to bring them together visually

Saturday, March 5, 2011

Start Shelf and Drying Rack

Happy weekend all!

With the sheet mulch out back doing its decomposing thing, I am turning my efforts to getting the starts ready to go in the ground. Despite the size of our duplex we are short on window space that works for getting plants going - not to mention that our window sills are already full of house plants, candles, and Jason's religious iconography.

One asset we do have is this wonderful set of sliding glass doors that face ESE. After a number of ideas around how to use the stationary side of these doors, I came up with an idea for a start shelf that could also be used in the summer as a drying rack.

Here are my very, very, very technical plans...


My plan was to create two 'ladders that were 2' wide that could be set up as a shelving unit, but when made with screws could be easily disassembled for travel or to use the 'ladders' as places for climbing plants. Because of the specific nature of the lumber, and the fact that we had just been up to Portland, we ended up getting the lumber at Home Depot (mild boo to us).


In my opinion the best part of all of this is that I designed the shelf, planned what lumber we needed, gave the plans to Jason, and he was able to get all the proper pieces and assemble it just as I had envisioned it. Yea me for learning how to communicate building projects! The start of the project left us with this frame that lacks the actual shelves. I was unsure what I wanted to do for the shelves, so I left them empty and looked at it in the dining room for about three weeks.

I finally began to feel edgy because I wanted to get my starts going. It is not at all usual for me to wait on a project for this long. Finally I decided to take a trip to the Benton Habitat for Humanity ReStore to gain some inspiration. In the back lot I found a shelf filled with window screens and decided that was what I would use.


What I like about it is that light can get through the screens, so there is less shade on the plants on the lower shelves. I also like that water will go through rather that sitting on a wooden plank and helping it to rot. I also realized that this would be the best way to use the shelf outdoors as a sun drying rack in the summer. What I don't like it is that the screens don't fit completely into the frame, so I lose some usable space. I am going to keep my eyes open in the future for screens that are larger.


I have been saving yogurt and other plastic containers to start my plants in. If you are in the Corvallis/Albany area and have any containers similar to ones pictured here please shoot me an email and I will come pick them up.

Tonight...I start putting seeds in soil!!!!

Saturday, February 19, 2011

Door Knob Coat Rack

Moving into your first unfurnished place can be challenging - it sure was for us! Fortunately, we are trying to learn as much as we can about carpentry and building, and are interested in creating a home full of recycled and reclaimed beauty.

When last in Portland I went to the ReBuilding Center and got myself the part of a door jamb that included some hardware and holes from past doors. I dug through hundreds of old doorknobs looking for eight that were different shapes and colors.


I used a circular saw to make a diagonal cut through the jamb, dividing it so that one piece was about 2/5 and the other the 3/5. Initially I was going to make one of them 3ft and one 2ft, but there was such amazing hardware and distressing on the ends and throughout that I decided just to use the whole thing.


I set the doorknobs evenly across the center of the jamb and screwed them on. I had to drill pilot holes and then hand-screw them because the phillips bit on my drill is not long enough to get around the curve of the knob.


I opted to mount them on the wall behind the front door using plastic wall mounts because the studs were hard to locate. I chose to hang them off center from one another so that the knobs were staggered for better accessibility.

I am very pleased with how the project turned out. The wall next to the bookcase was very blank, and its great to have our things up off of the floor!

Saturday, February 12, 2011

Sheet Mulch

So its time for us to actually start that whole gardening thing. We spent some time talking, dreaming, scheming about it about 2 weeks ago, and now we are finally getting it to action.

We decided to put in 4 framed beds out back - each is 8'x3' and made out of reclaimed lumber we got from the Benton Habitat for Humanity ReStore. Jason worked this week getting the frames built, and we are going to spend some time this weekend turning the ground and starting to get things ready for seeds.

Upon digging into the yard (thanks to our landlady who is OK with this!) we found that the soil is mostly clay. This is great when we are talking about making plasters or cob, but for gardening it worried us a bit, hence the framed beds so we can import some other materials without having to till up the whole yard.

We looked into ways to get ahold of good soil. This included all kinds of ideas from going to the woods and getting some to purchasing it at a local store. We decided hauling soil seemed pretty energy inefficient and labor intensive, and discovered the route of buying soil would put us out over $200 minimum (ouch). So Jason got on the horn and started researching other options.

What he landed on was sheet mulching. This was an idea he'd originally had, but rejected because he did not think it was feasible for immediate planting. Sheet mulching is an incredible soil-building technique, especially if you have 6 months to let it break down. Fortunately, Jason pursued this idea deeply enough to discover that it is possible to plant almost immediately if one takes certain steps.

Lets take a moment and talk about what sheet mulching actually is. It is rooted in the concept that tilling is actually not beneficial for sustainable gardening (or agriculture for that matter) in that it will initially promote plant growth, but in the long run leeches nutrients out of the soil and leaves in barren (anybody remember the dust bowl?). It is essentially composting in place. To do this we are going to:
  • Trim the grass short, leaving it in place.
  • Covering the grass with newspaper and cardboard to prevent grass growth.
  • Layering on top of the paper and cardboard from the bottom up, these four layers: partially composted goat manure and straw from a local farm, completed compost from the local municipality, straw, and dead leaves.
The net result is a striated combination of materials that will break down into fluffy, humus-rich, healthy soil. This process would have been best started back in October of last year. Of course last October Jason was living in a tent at an earth-building worksite, and I was watching football and drinking beer in Flagstaff. So, we are starting a bit behind, but developing a plan for being able move forward nonetheless.

While Jason builds his 5-layer dip of poop and other organic material in the backyard, I have been saving old containers to get our starts going. The plan is to get the sheet mulch up and decomposing while the plants get rolling indoors. Stay tuned for an article on starting plants as well as updates on the backyard beds. We are slated to get our plants into the ground on April 15, thus turning tax day into happy-gardening-fun-plant-dirt-day.

We must certainly give a nod to Toby Hemenway, author of "Gaia's Garden" for inspiration, ideas, plans, and instruction.

Monday, February 7, 2011

Sustainable Sunday (OK - belated): The ReBuilding Center


There were doors.

Rows and rows and rows of rough-cut racks holding up doors. Interior, exterior, old, new, wooden, metal, glass...i stood in awe looking at all of them, my mind dreaming up new projects one after another.

This was the experience I had on my first visit to the ReBuilding Center in Portland. I found this nonprofit organization dedicated to recycling, waste-reduction, and art a veritable smorgasbord of reclaimed building supplies. The door-lover in me rejoiced.

The ReBuilding Center offers a number of incredible services to the Portland community. From taking donations of used building supplies, to offering demolition and reclamation services, the ReBuilding Center seeks to promote sustainability and recycling while providing people with low-cost supplies for construction. Housed on N. Mississippi, the Center is a warehouse labyrinth where one can get lost amid piles of used tile, shelves of old sinks, and stacks of lumber. Visitors are encouraged to wander through the warehouse seeking treasures. Once ready to check out, one finds an employee who assesses the wares and issues a ticket bearing prices.

The Center also offers a great number of community-building programs, events and workshops. They offer classes such as window repair or project planning, provide tours of the Center to community groups an schools, and work with local artists to raise funds through the creation of "rebuilt" furniture and auctioning off doors that have been turned into masterpieces.

On our first trip to the Center we walked away with a cupboard door and a couple of newel posts that Jason has turned into a coffee table. This weekend I purchased door knobs and a door jamb that I will be turning into a couple of coat racks. Whatever the project, large or small, a great way to find quality materials at low, low prices is to head on out to the ReBuilding Center.

I LOVE THIS PLACE!!!